I had a HIGHLY productive music day in 2022, wrote five instrumentals in one day trying to score a yoga anatomy video for my friend Nam…I fell in love with all of the music. Spent some time working the scored “background music” versions into listenable songs. I posted the songs as an ep and let them sit on the backburner…UNTIL I TOOK A HISTORY OF ANIMATION CLASS. We learned about traditional animation techniques, I posted about wanting to try it in a class discussion, and the professor called my bluff… “GO DO IT, KYLE!”
I’d spent the previous year filming and editing for a fine art education website. Hanging out with amazing watercolorists got the inspiration soup to a roiling boil and I wanted to try it. Didn’t know what to animate, though. Knew my baseline skills were quite low (stick figures, mostly). Needed to find a project that would help develop baseline skills that I couldn’t possibly overcomplicate. Noticed how much time social media and phone devoured. Needed to get away from that thing. Also HATE AI art and needed to rebel against the “just have the robot generate it” trend. Needed to make something with my hands like the troglodyte neanderthal I am.
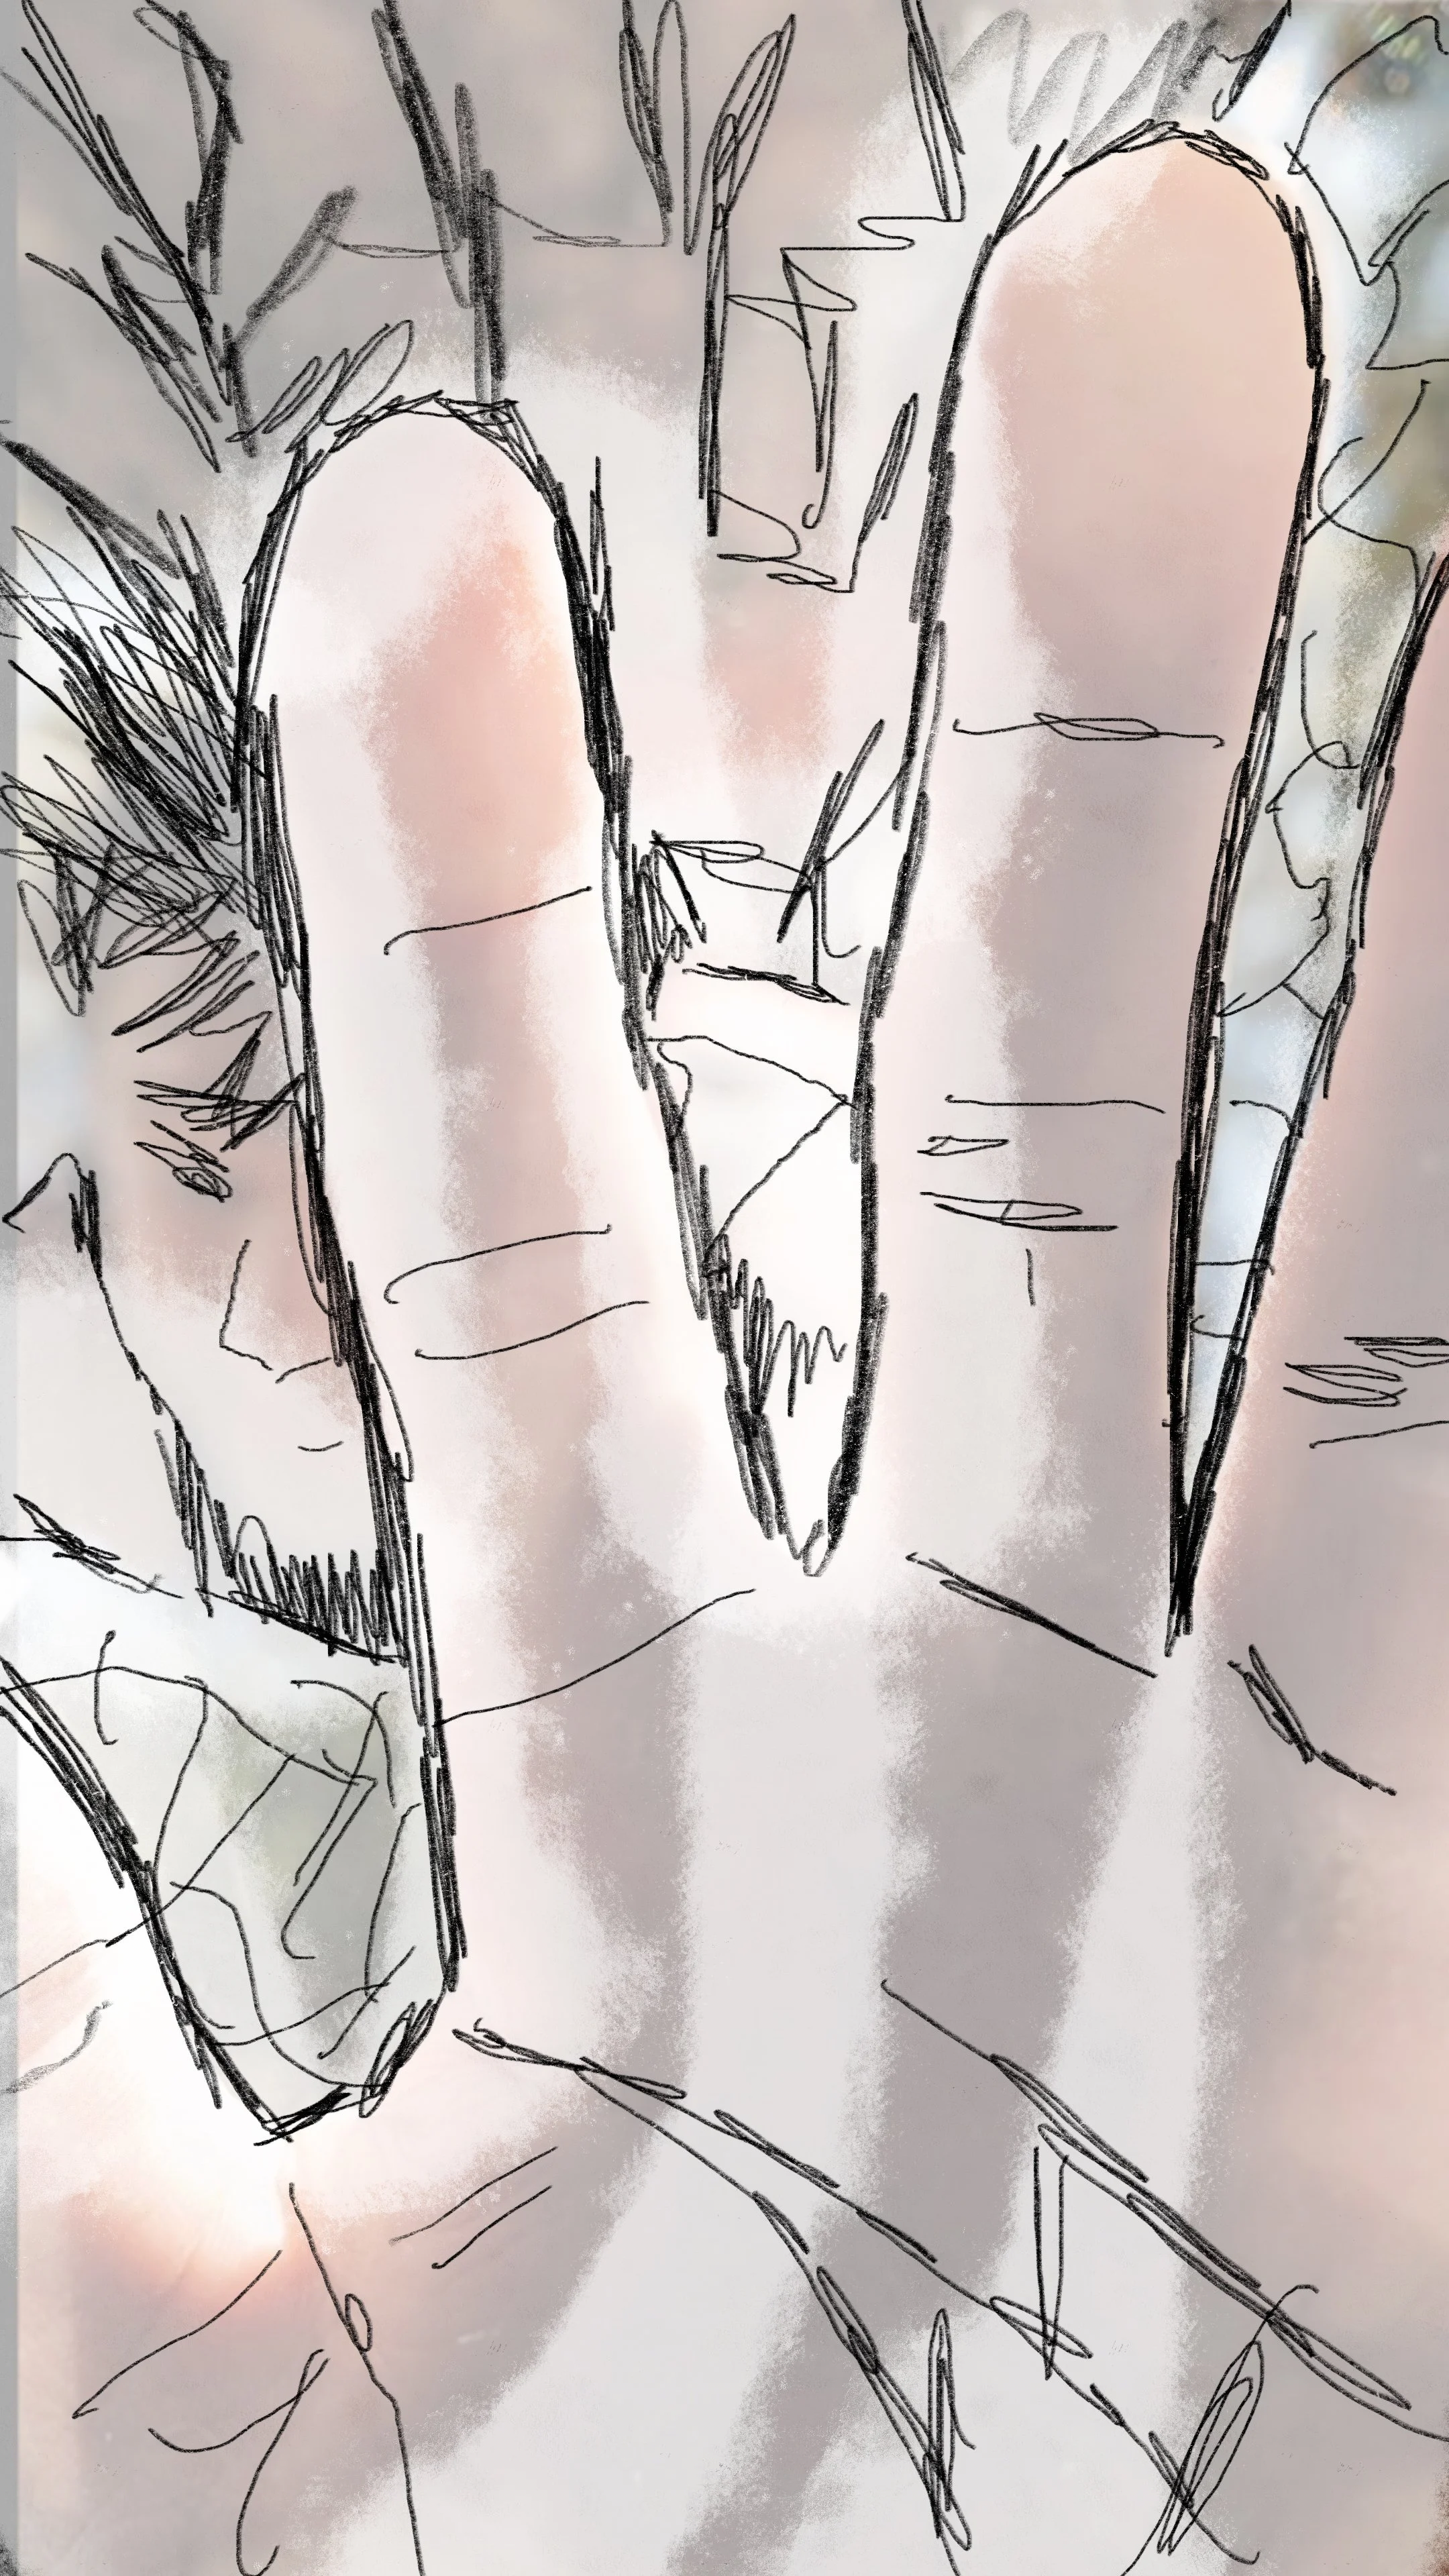
I was also taking an intro to drawing class around this time. We had an assignment to draw five hand gestures…Nam’s yoga video was all about gripping the floor during handstands using a precise muscular action. LIGHTNING BOLT! I’d use Nam’s lumbrical flexion video as a starting point, would draw a heap of hand gestures, and set them to the a Lumbrical Flexion song—II - Imagine an Imaginary Toothpick, if you’re wondering…because the action you take to grip the floor is like if you were to grip a toothpick straight up with only the palm of your hand.
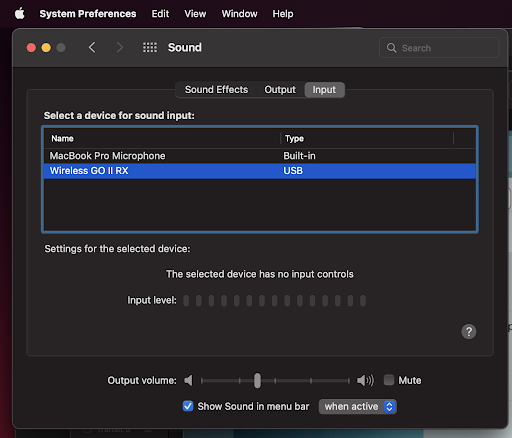
Brought the sketchbook whenever I’d go for coffee, open mic, beers, train rides, etc. Spent time reserved for social media drawing hands. Did this for an entire year. Got restless and wanted to see it move. Couldn’t do all of the transfers at once and knew I’d have to draw some in-betweens between poses when I changed sketchbooks, forgot what I was doing, or inspiration carried me elsewhere. I marked off a spot on my desk with tape around the sketch book. Flattened the unruly ones with an acrylic sheet and kettlebell. Set up my trusty Panasonic Lumix S5 overhead on a C-stand. Flanked the sketchbook with two big panel lights (my mentor Annie Killam uses this technique to get dramatic lighting for yoga photoshoots—turns out it works for page lighting. Physically hitting the shutter each time would shake the C-stand, so I connected the camera to an iPad and controlled it with the Lumix Image app. No shakes!


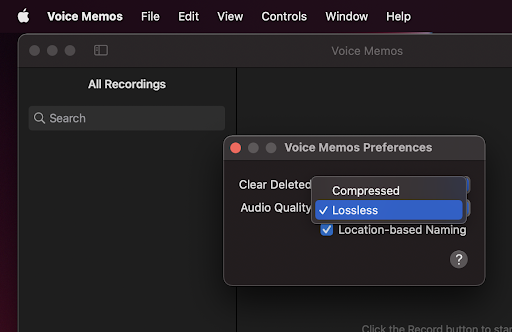
Dropped the images into Premiere and adjusted the speed…Only had about a third of the material needed. Decided this video needed a nerdy science joke, so I added a scene where we zoom in to a flipping off gesture’s middle finger nail. Zoom to microscope view. Zoom to bacteria view. Zoom to chemical chain view of beta keratin (the stuff your fingernails are made of). Zoom to atomic level. Zoom to SUBatomic level. At this point, I became frustrated with photographing all of the drawings and switched to Procreate 🤷. Only added five seconds of footage, though!
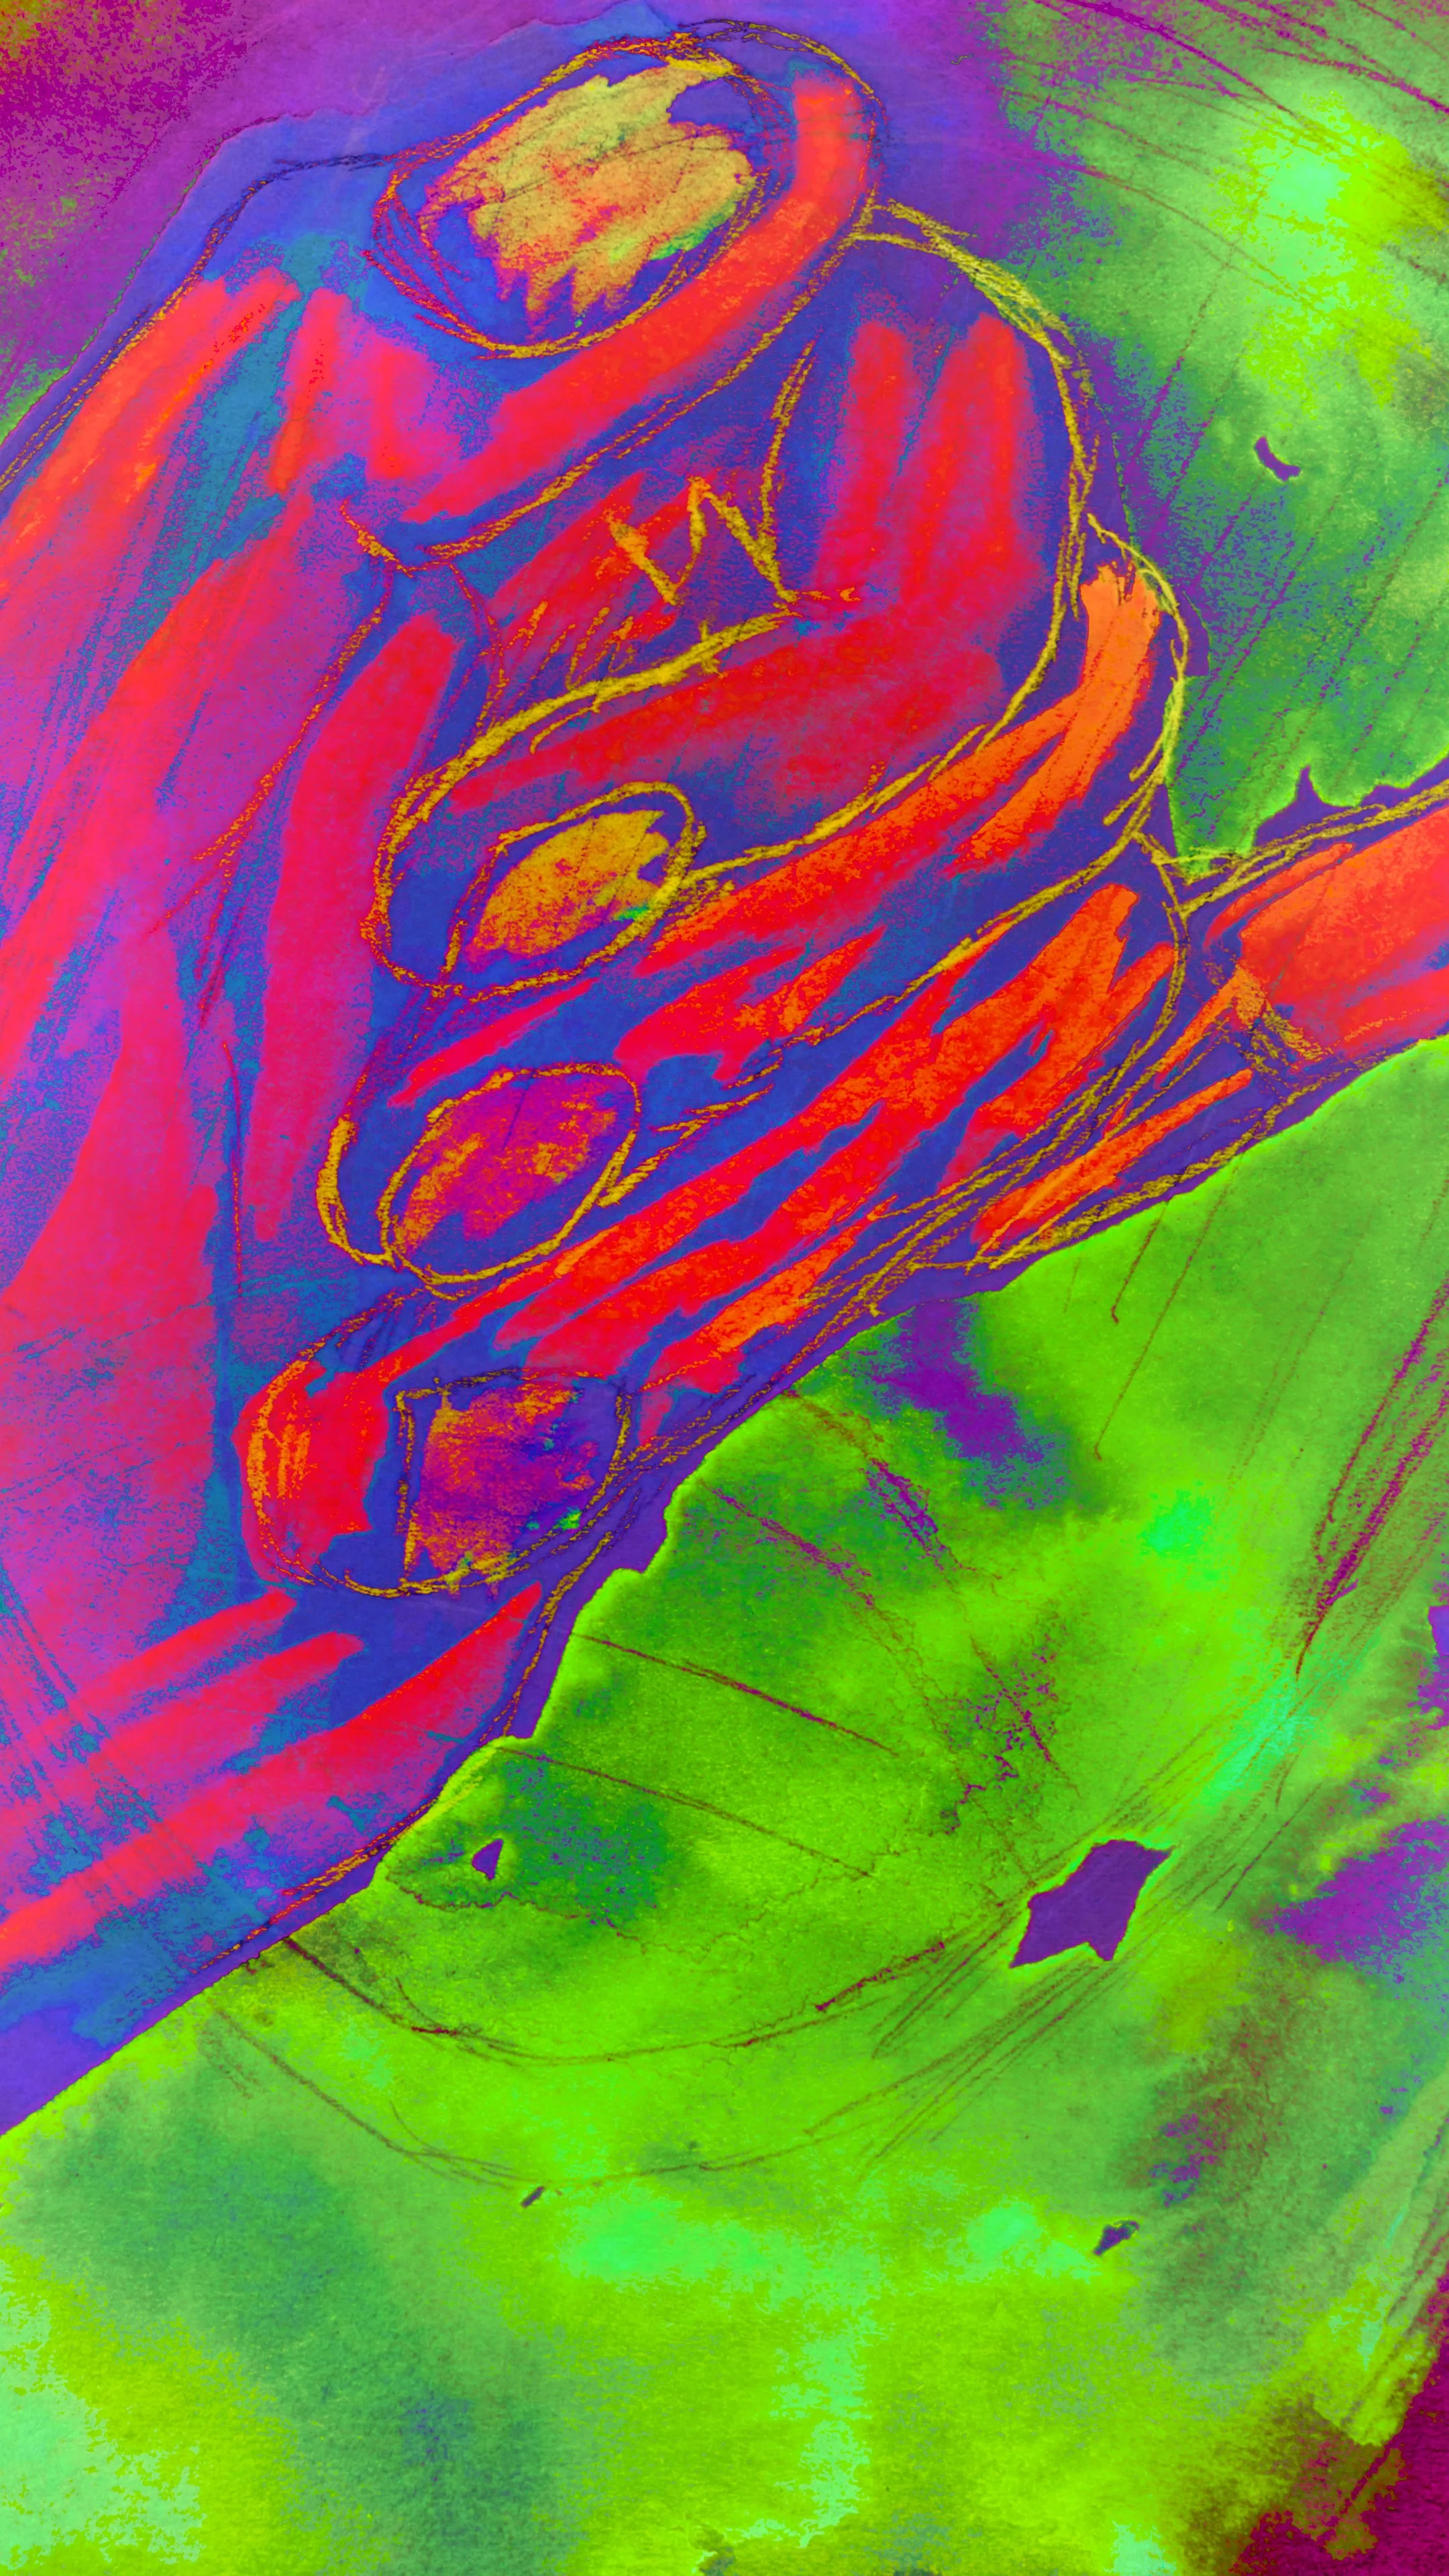
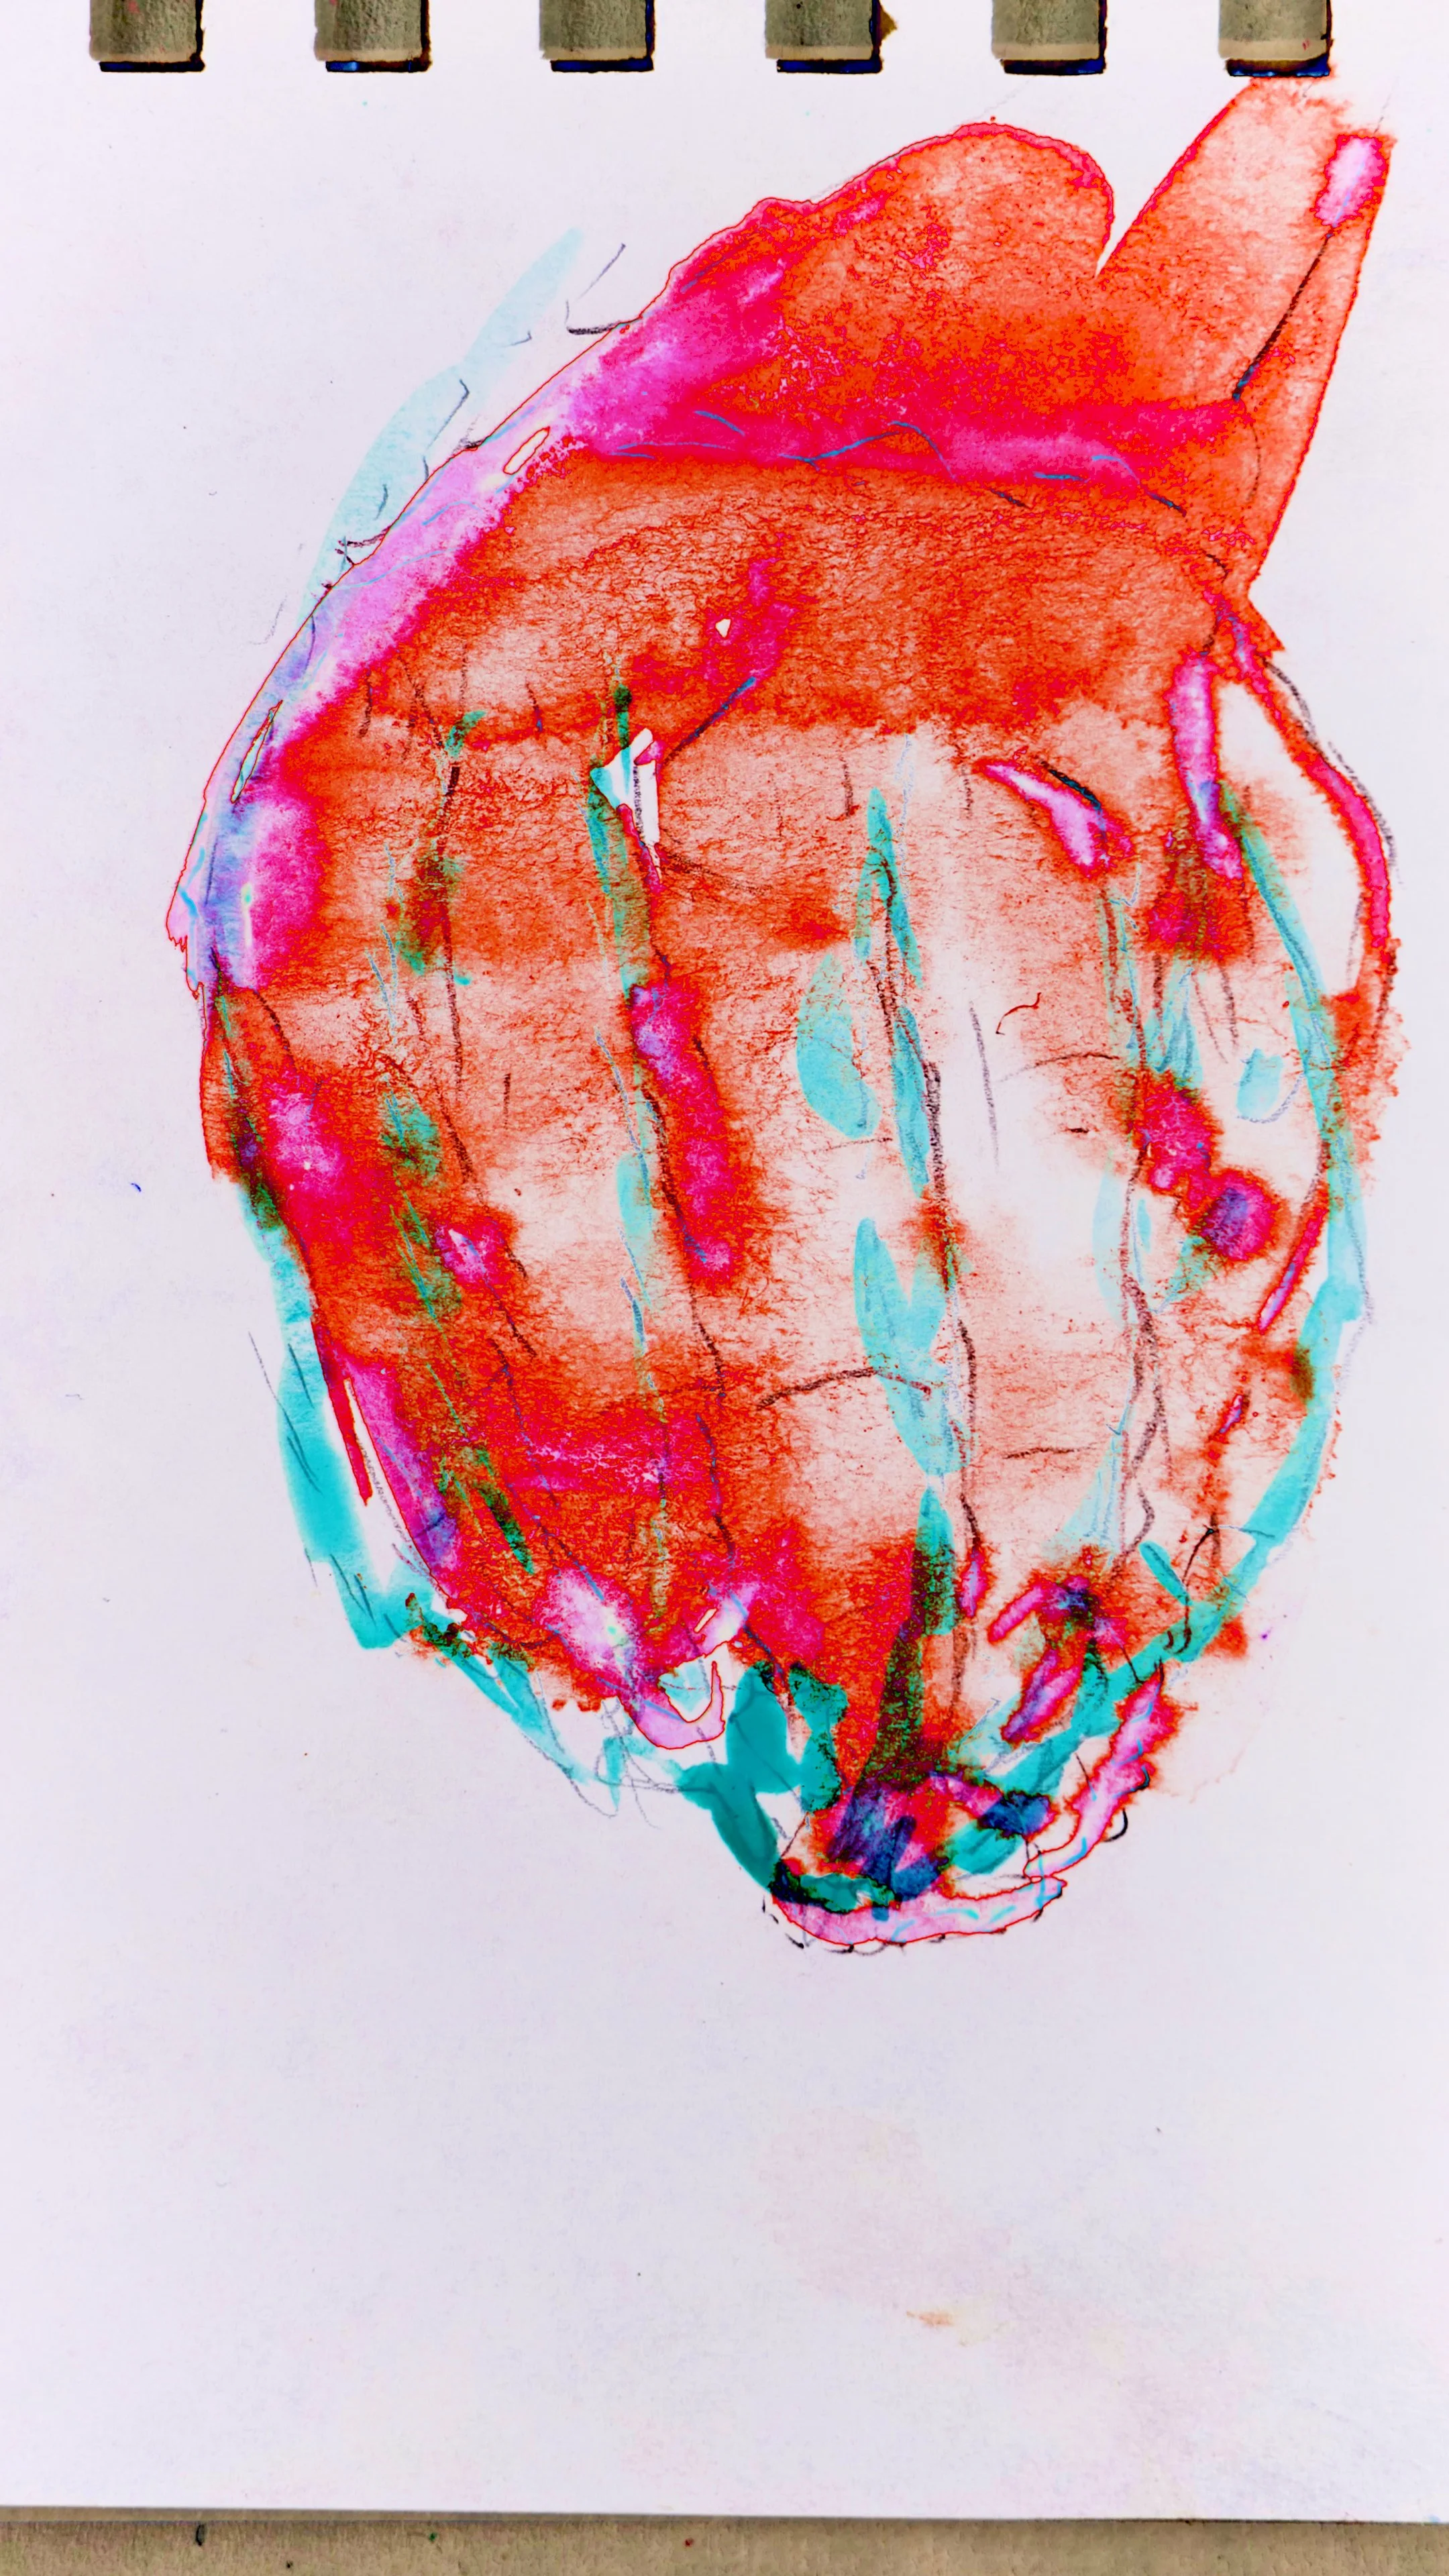
Cheesed through the next chunk by watercoloring over all of the pencil drawings. I love Electric Soldier Porygon, so I painted each frame different to look jarring went slapped together. Needed to fill more time, so I overlayed watercolor frames with different blendmodes and adjusted the timing to be really trippy.
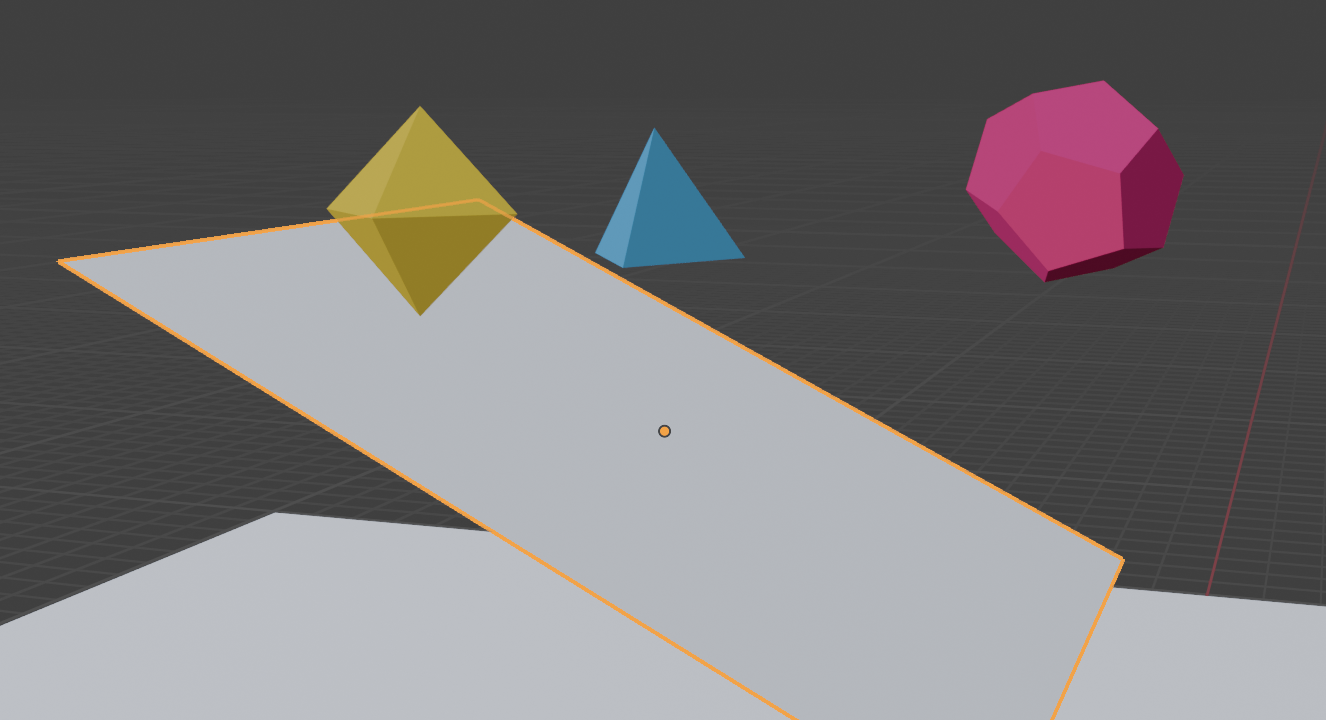
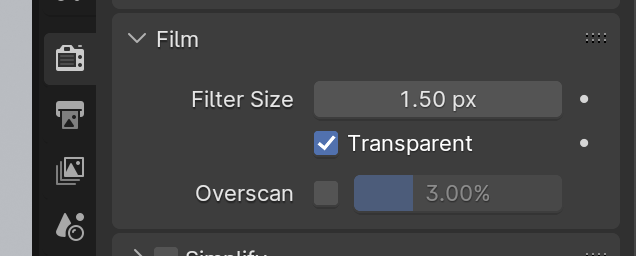
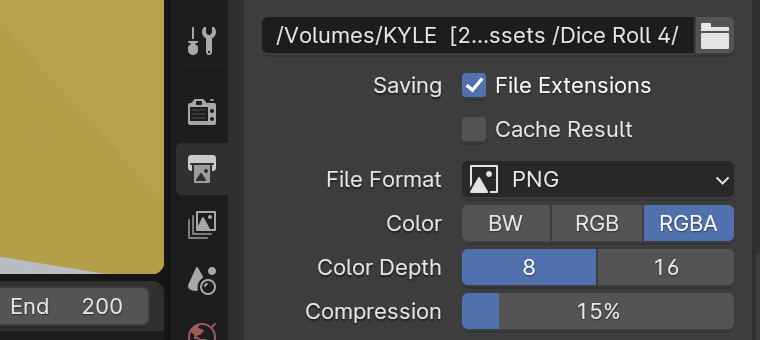
Still needed some connecting bits, so I messed around in Blender. Modeled a low-poly hand. Rigged it with tips from my pal Julian. Unsuccessfully attempted webcam motion capture. Messed around with different poses to fill in the gaps. Then, I whacked it all the way out for fun.
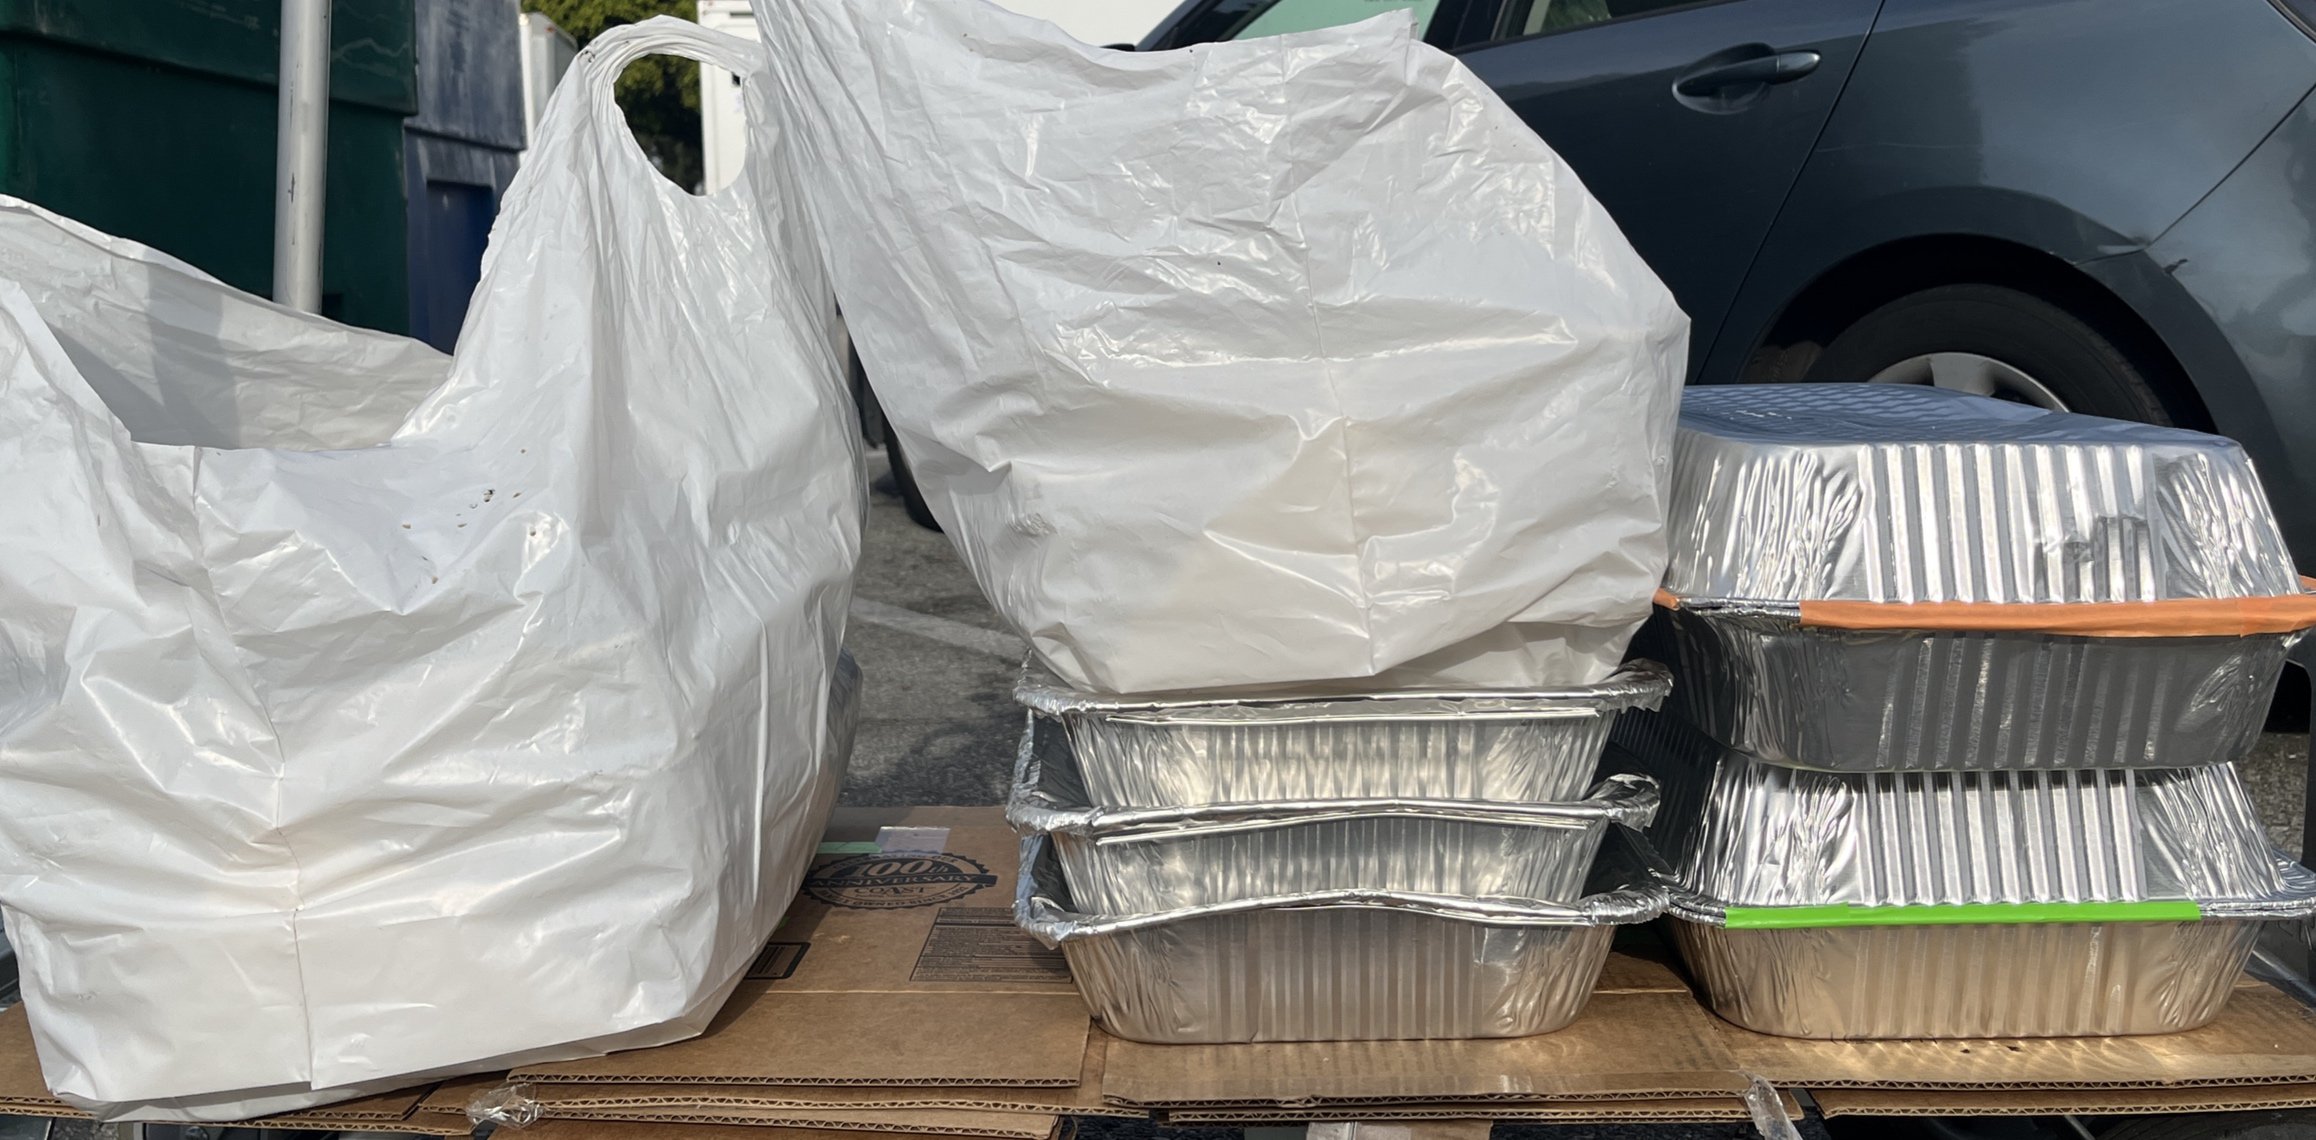
I sometimes forget to give context to my works and wanted to avoid that pitfall. Filmed an intro of me watching Nam’s video, kicking up into a handstand, then transitioning into the animation. Wanted to show off and show the action of lumbrical flexion. Made a platform out of some yoga blocks and a clear acrylic sheet, pointed the camera up from beneath the clear platform. Hindsight, I could have shortened up this segment, but whatever. It’s done and I stand by it, god donut. Enjoy!